Disclaimer: This is to show how I do an oil change. Please consult a professional for your oil changes. Do not attempt on your own as hot oil will burn and scald. You may also invalidate your warranty.
Firstly, here's the the toolset required. What's missing from the photo is the magnetic telescope rod that allows for easy retrieval of nuts and bolts
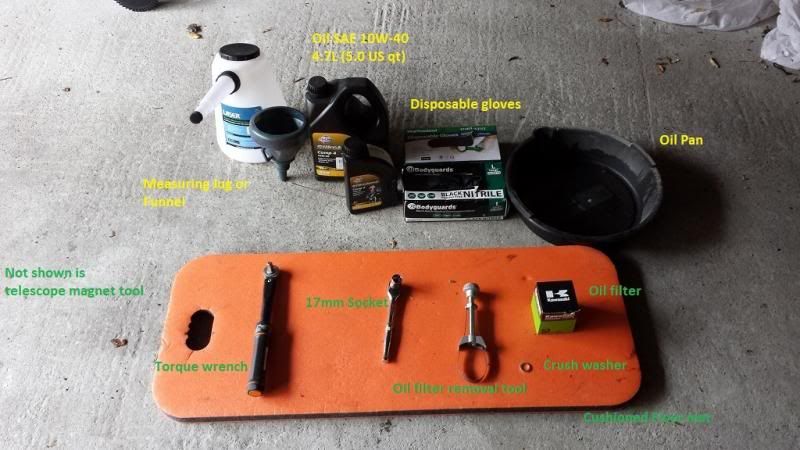
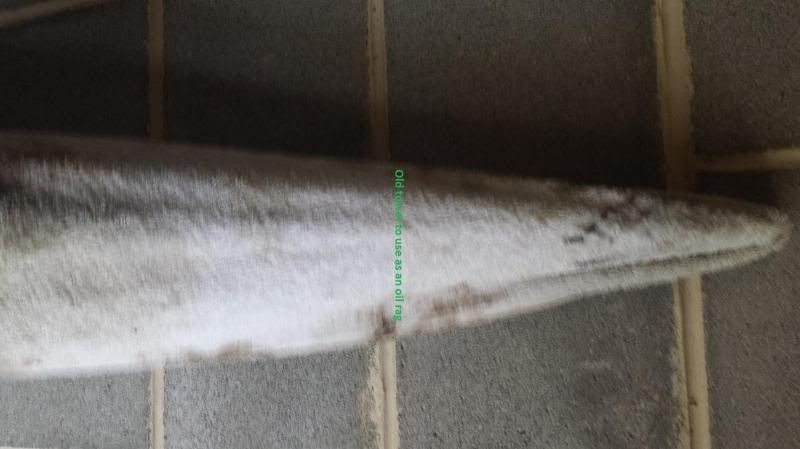
Also need an old towel as an oil rag
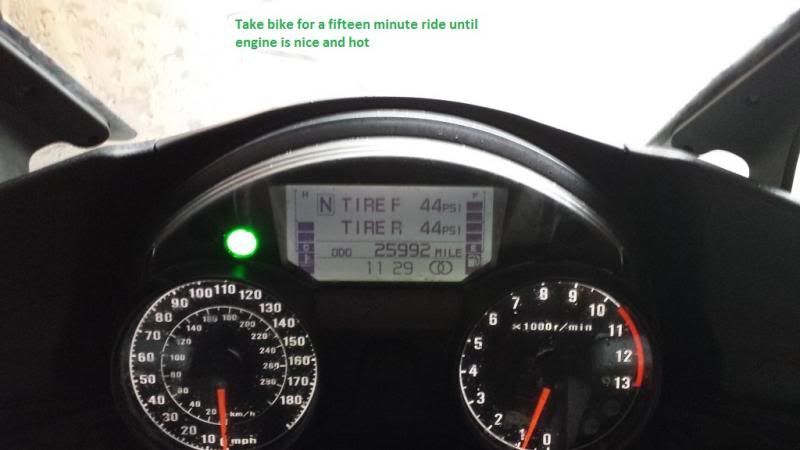
Any excuse to take the bike out and get it up to temperature. Oil is best removed when hot
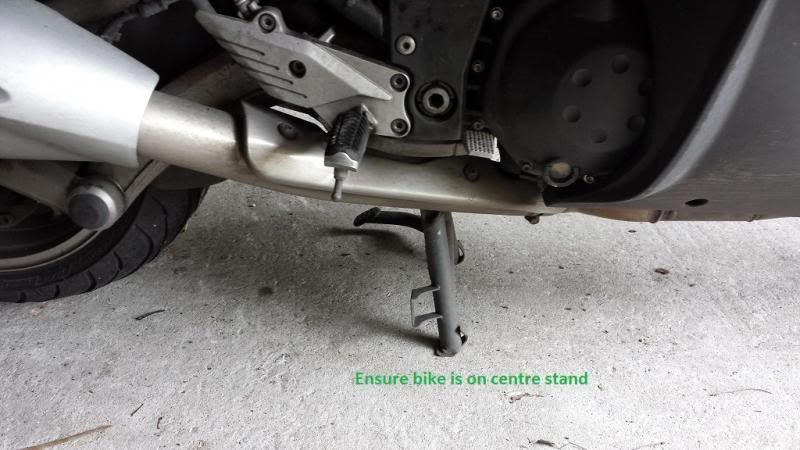
Get it on the centre stand
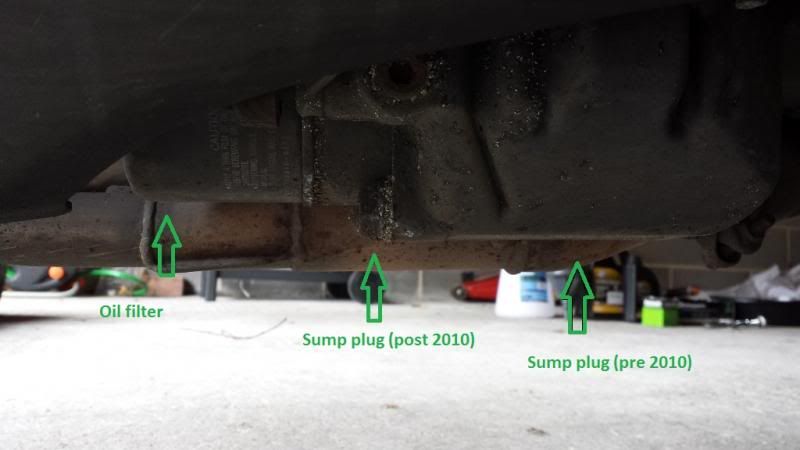
The sump drain plug has moved on the newer models
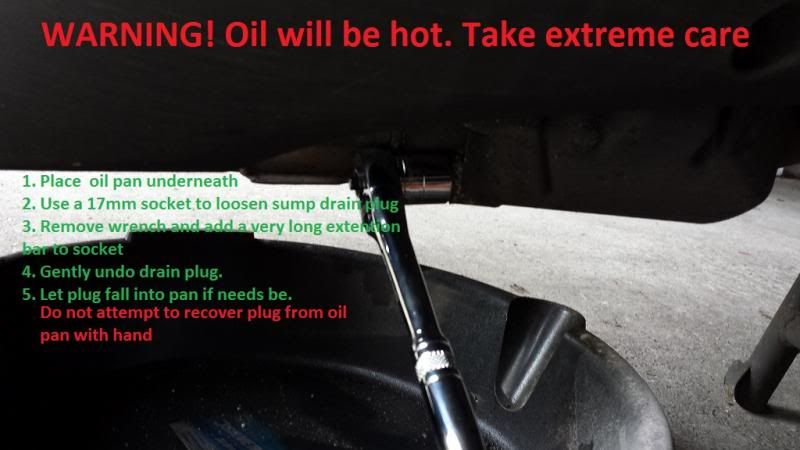
Had to take care when removing the drain plug. The oil will squirt out. Did I mention its HOT?
Somewhere in that blackness is the plug. That oil is HOT. So I'll use my magnetic pickup tool to retrieve it

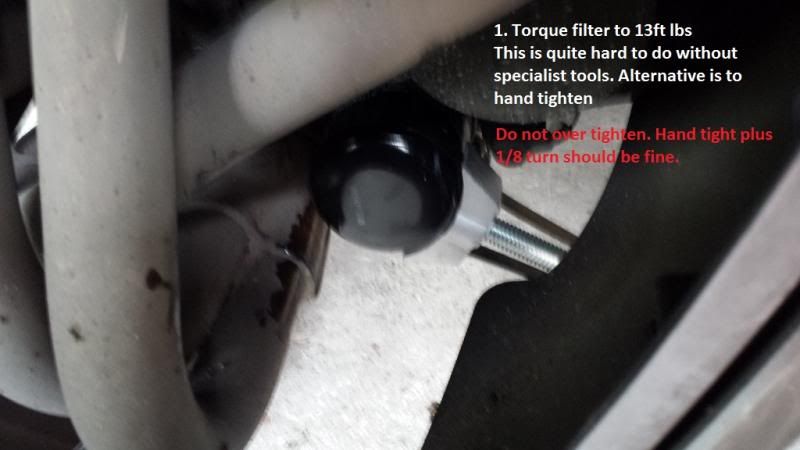
Here's a better view of the oil filter. Most of the time this is on tight. It should never be on that tight as it only should ever be torqued to 13 ft lbs. However, torquing it is hard, so most dealers over tighten. However, this can ruin the threads

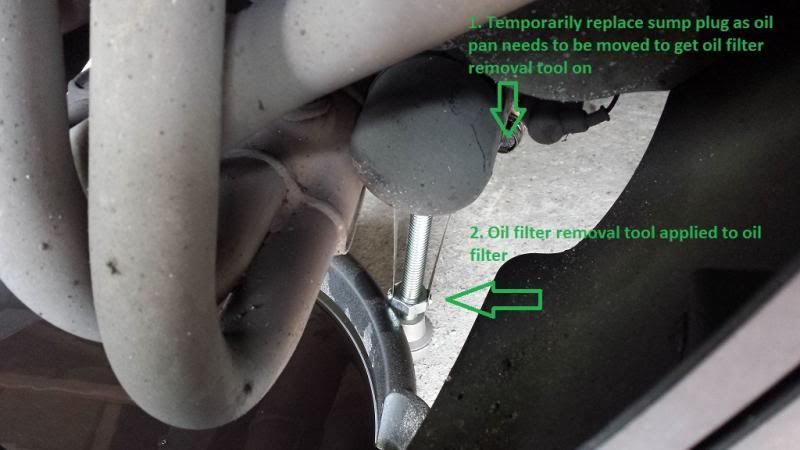
I had to move the oi drain pan out of the way, so temporarily put the drain plug back in. Then applied the oil filter removal tool
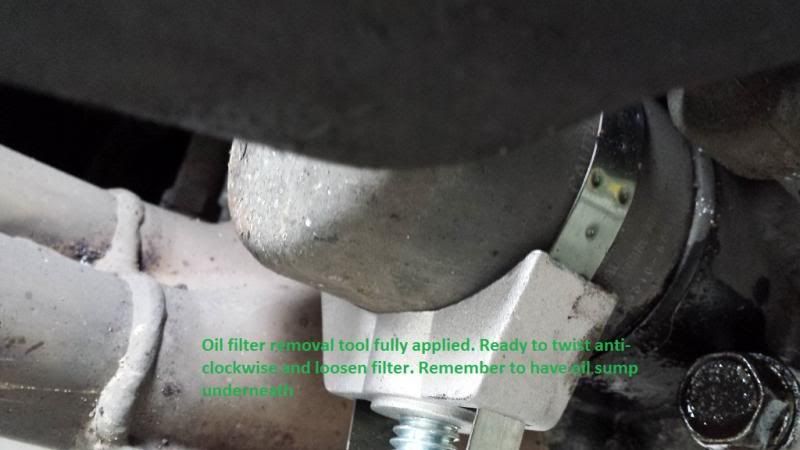
Close up here. It really grips the oil filter
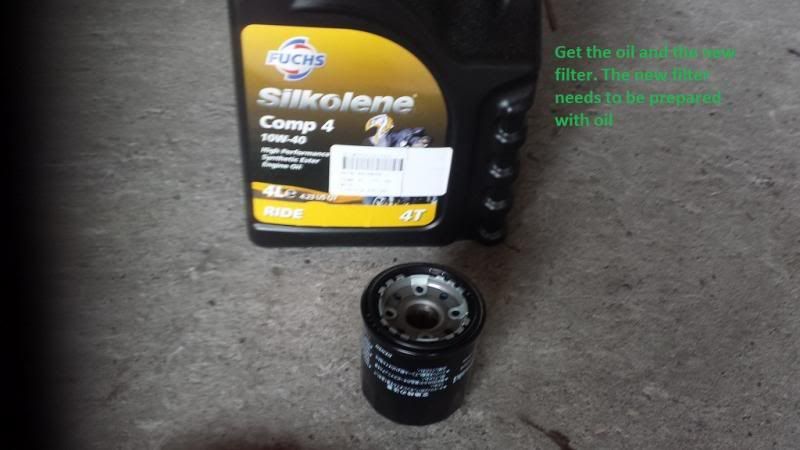
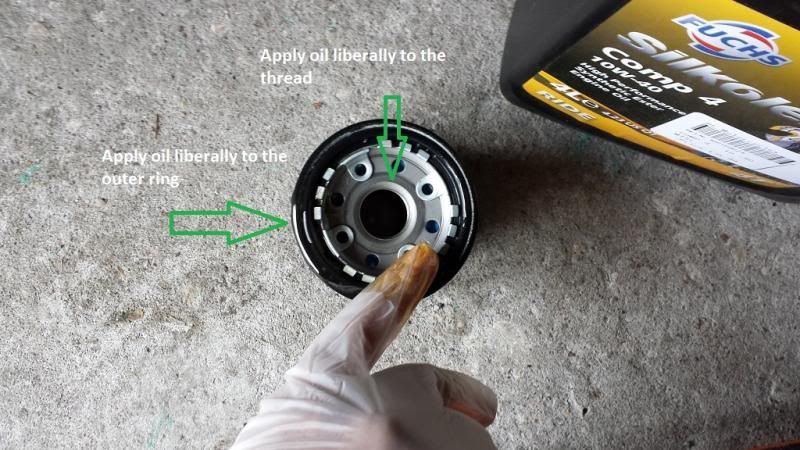
Now to appy some oil to the new filter before assembly
Reattach the new filter and hand tightened. Then grabbed the removal tool and tightened a touch more to make it nice and snug.
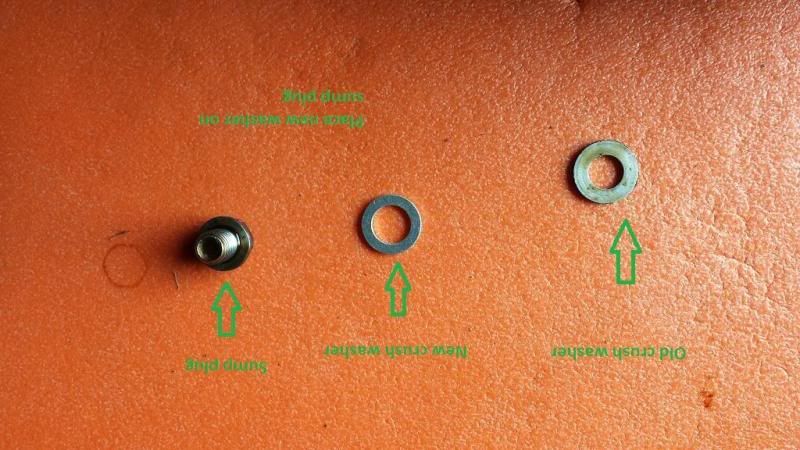
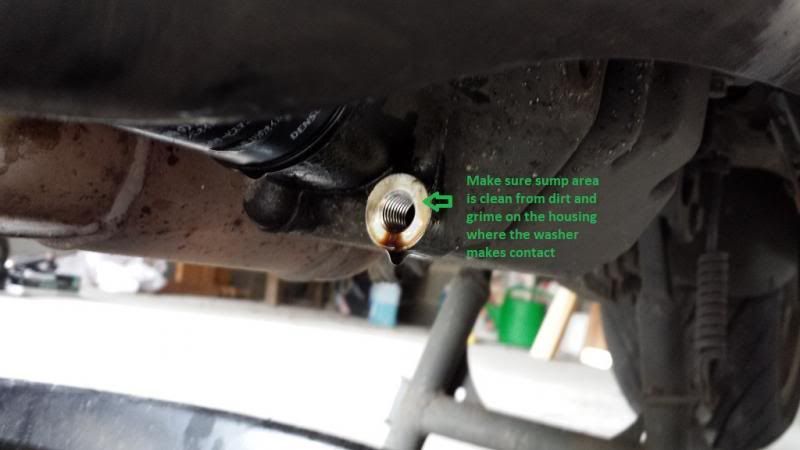
Replaced the old crush washer with new. Didn't have to do this as old one was fine, but the cost of a new one is a few pennies
Cleaned the silver area and applied a bit of oil. This is where the crush washer will mate
The sump plug needs to be torqued at 22ft lbs

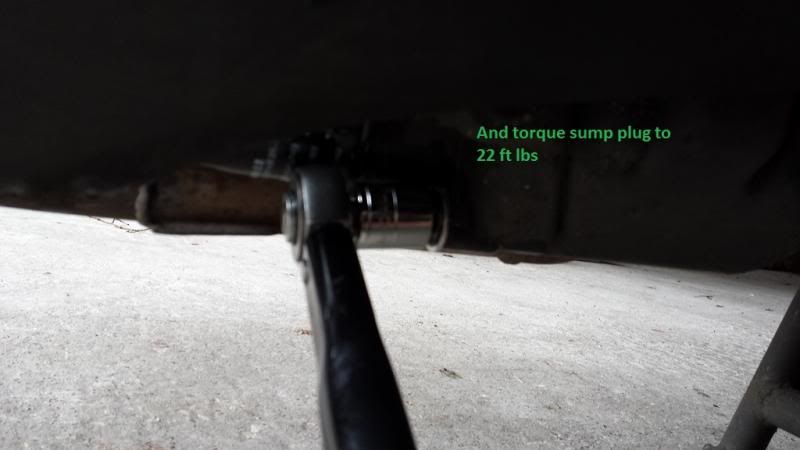
So, oil has been drained, filter replaced, sump plug back on with new washer and all correcly tightened
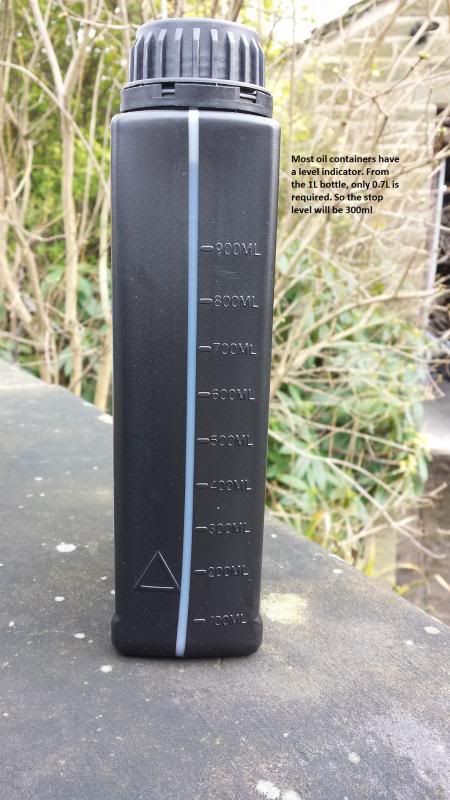
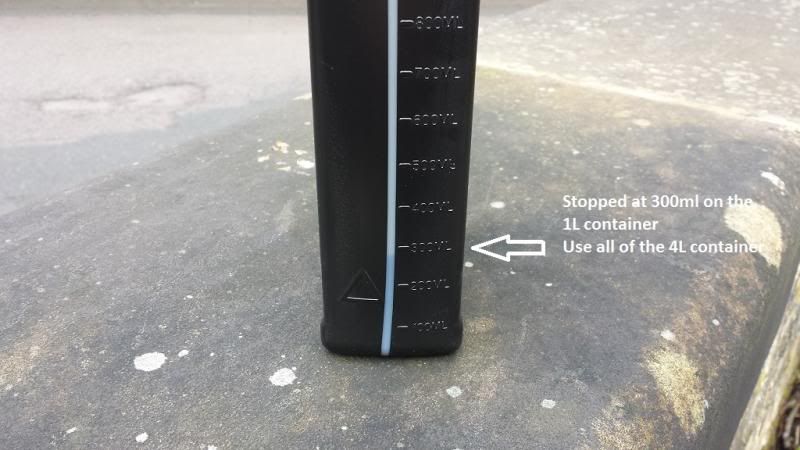
And here is the oil I'm using. Yes, I know, I've gone for fully synthetic. I prefer using it once my bike has over 20k miles. The large container has 4L and the smaller 1L making 5L in total. To get the 4.7L in the bike, all the 4L container will be used, and 0.7L of the smaller container
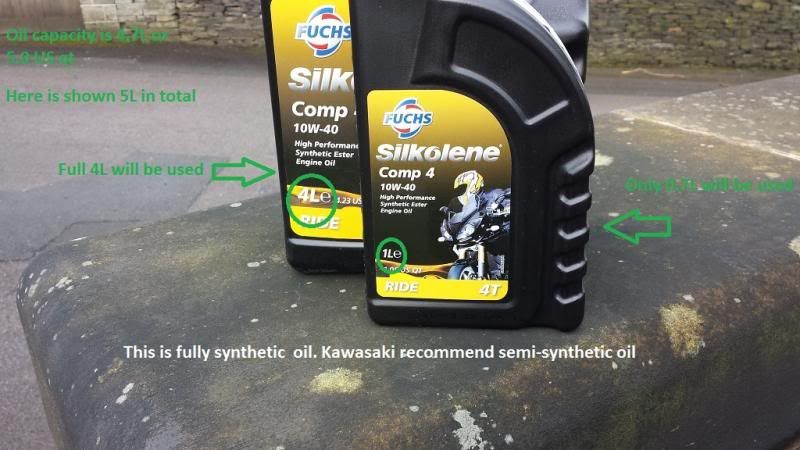
The containers show the volume of oil in them which is handy. On the smaller one, I shall stop when I get to 300ml
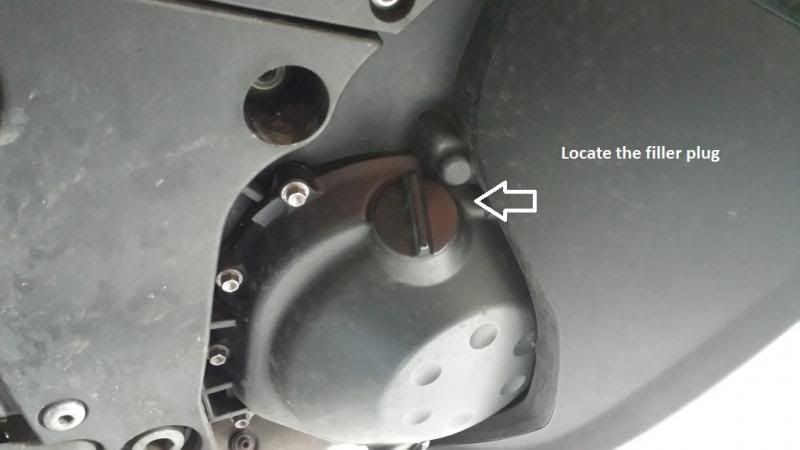
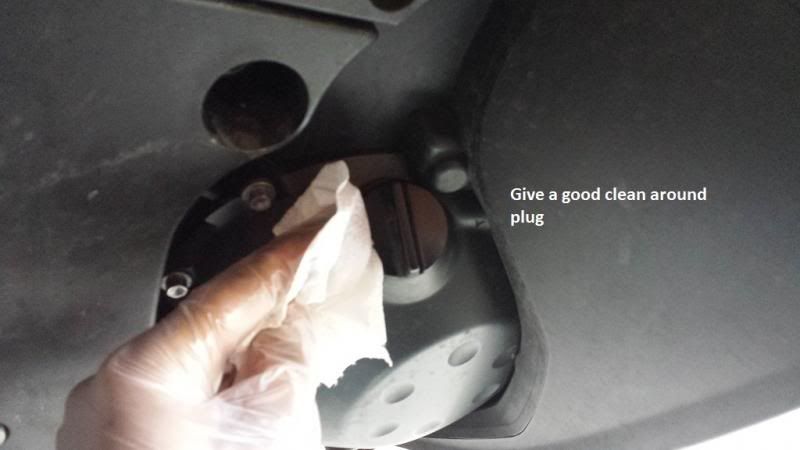
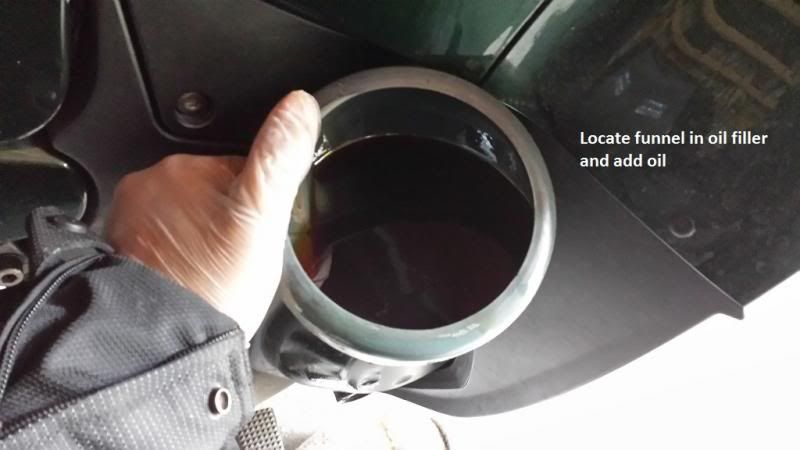
Time to add the oil to the bike. Make sure you clean around the filler plug as there can be dirt and grime that may fall in
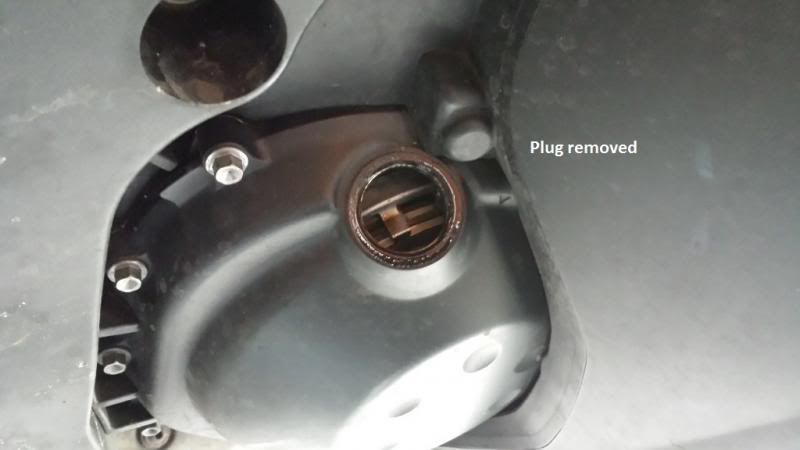
And what it looks like with the plug removed
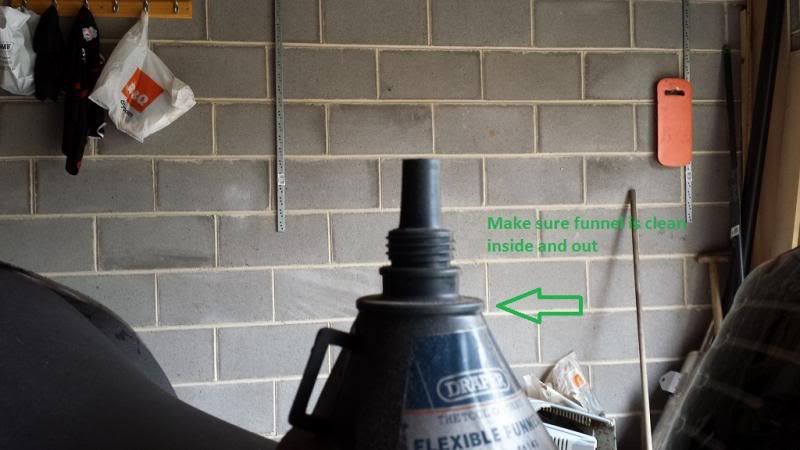
Make sure the funnel is cleaned as well. I use mine for allsorts
And start pouring in the oil.
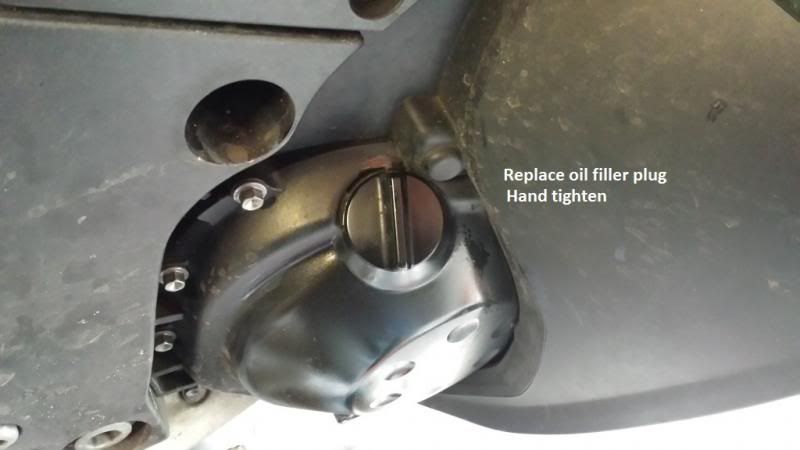
Replace the oil filler plug once all the oil from the 4L container plus 0.7L oil of the smaller container has been added
All the 4L container used. And only 0.7L of the smaller container used
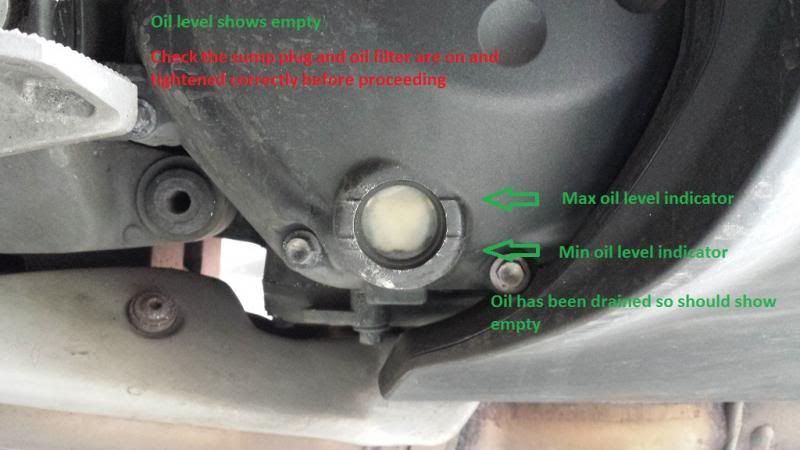
Oil sump is nice and full. This should settle down once I go for a ride
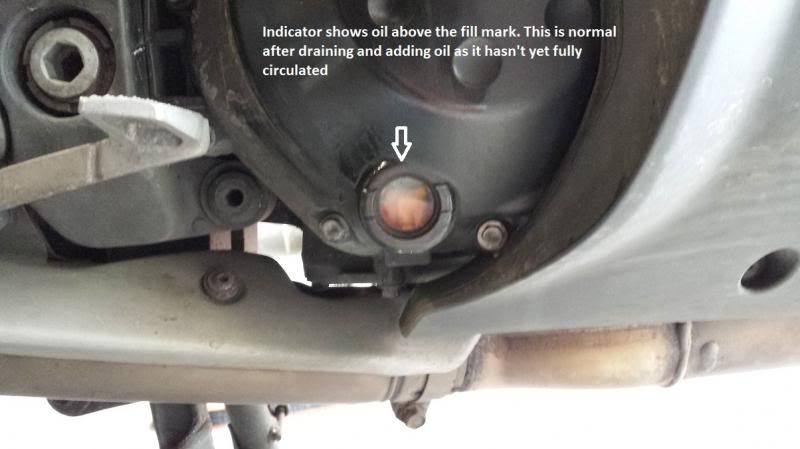
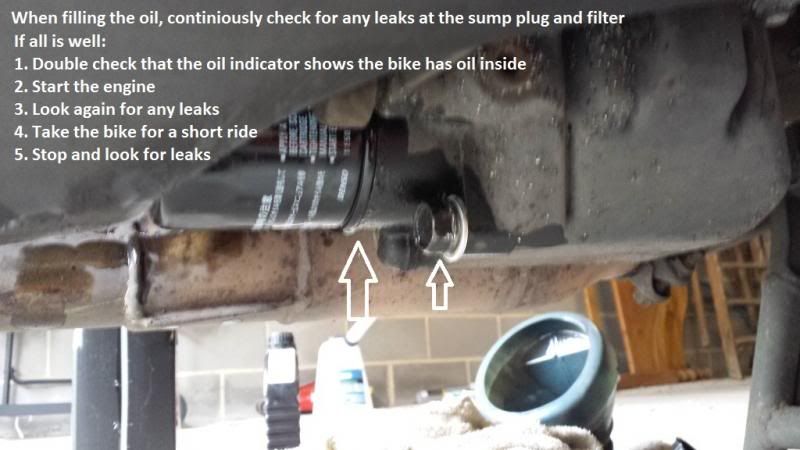
But before I do, check, check and check again!
And after the ride that is pretty much perfect

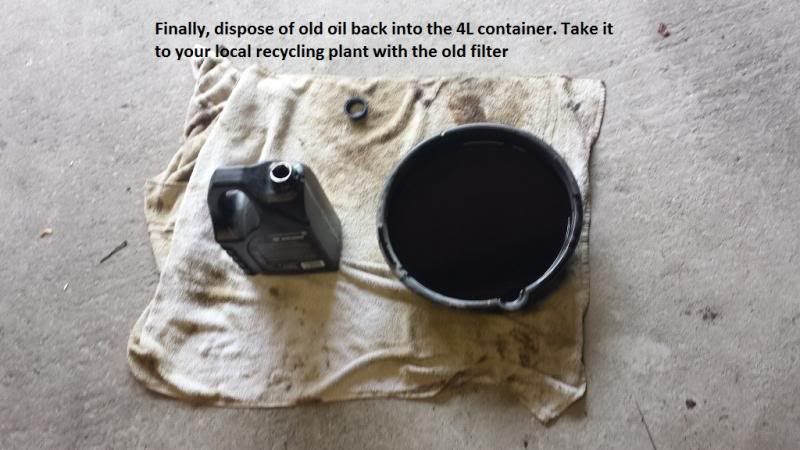
Finally, get rid of the oil in a responsible manner
And that's how I do my oil changes. Doesn't take long


